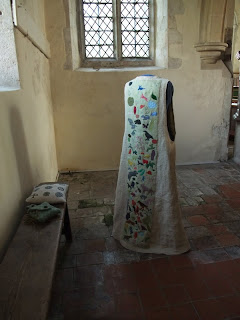
Slow Progress...
With apologies to the owner!
Strengthening with car body filler and aluminium mesh.
A skin of stockingette sewn tightly around the armature.
The beginning of the rebuild with layers of different thicknesses of felted wool sewn onto the stockingette and to each other.
Having to unstitch the shoulder to add extra reinforcement to the shoulder. Up until now I'd been manhandling the man fairly robustly in order to have a good angle for stitching. After this point I started a slower sewing method using a curved needle so that there was no undue stress on the armature.
Adding sufficient layers to gain Beaded Man's bulk took longer than expected. Each layer was sewn on individually to ensure a substantial build.
Getting to the head was a landmark moment. The head was broken apart so the rebuild is based on a single image of the original and re-imagining a good face.
With the body rebuilt I needed to spend some time cleaning the fabric decoration which got dusty whilst I was dismantling the clay layer.
Pins that have gone rusty get a soak in lime juice before rinsing and drying.
All the beading and pins separated into the sections I mapped on the figure before dismantling him.
Protecting the base before sealing the wool body.
Thinned emulsion applied from the top down in stages to avoid the feet getting over-soaked.
Thin emulsion penetrates through the layers of wool to help protect the material from any potential insect damage.
This job would have been quicker in the warmer months of the year. At least it's given me justification having the heating on in my workroom!
When the first 'coat' down to the feet is dry, thicker emulsion will be put on top and 'pushed' manually in to the fibre to aid penetration. Then a layer of wax will be smoothed over the top in order to give the beads something to grip.


Comments
Post a Comment